There are tons of snowflakes and Snowfall Accents Puff Paint from the Snowman Season Stamp set/Let it Snow Suite, and this little truck is colored with Blends for a cute Christmas fly by.
The pick up slides in with a tree and Loads of Cheer.
I know videos are great, but for a card like this, I like photos myself. I cut the 5-1/4" X 4 " cardstock on the long side from 1" to 4-1/4" (so one inch from both sides). Then I partially punched the 1 inch circle punch.
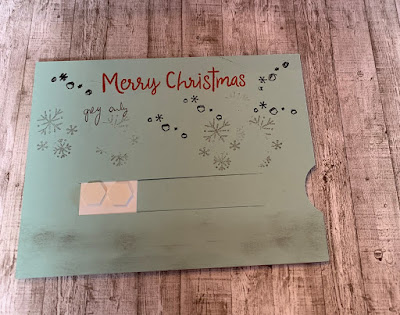
So first you slip the 1 inch X 3 inch strip into the slot. 2 dimensionals will hold the front, and on the back it needs to be far enough from the bottom to allow a foam strip to be added under it without catching. Add a strip of foam to the top at this time as well.
Then, add dimensionals to to the top and bottom of the strip in the slot to hold it in place. Then you'll take the 2" by 3-3/4" slider piece (stamped with Loads of Cheer), line it up in the punched partial circle slot and attach it to the dimensionals. Then remove the backing from the foam strips, and attach this layer to your card base.
Thanks for hopping by and reading!

Receive my weekly customer newsletter:

Shop anytime on my Stampin' Up! website:

and Earn Bunny Money Rewards!
Tempting sale items:

Free Tutorials:

Join My Team:


No comments:
Post a Comment