For this ornament I started with this tutorial by Linda Heller
http://lindastamps.wordpress.com/2012/08/07/holiday-catalog-ornament-2-videos/ which is an awesome "Lazy Girl's" alteration of the ornament on the front of the Stampin' Up! holiday catalog. That one is made by stamping and cutting out each image 20 times with the Holiday Ornaments Framelits Dies. I loved Linda's idea of making it from designer series paper to save time. For the Lazy' Girl's version, one merely needs to die cut the ornament shapes rather than stamp. Frankly, I'm not sure I'd have ever tried it as shown. My framelits also would not cut through four layers on the large ornament even with a shim. I only cut two layers at a time for both size ornaments.
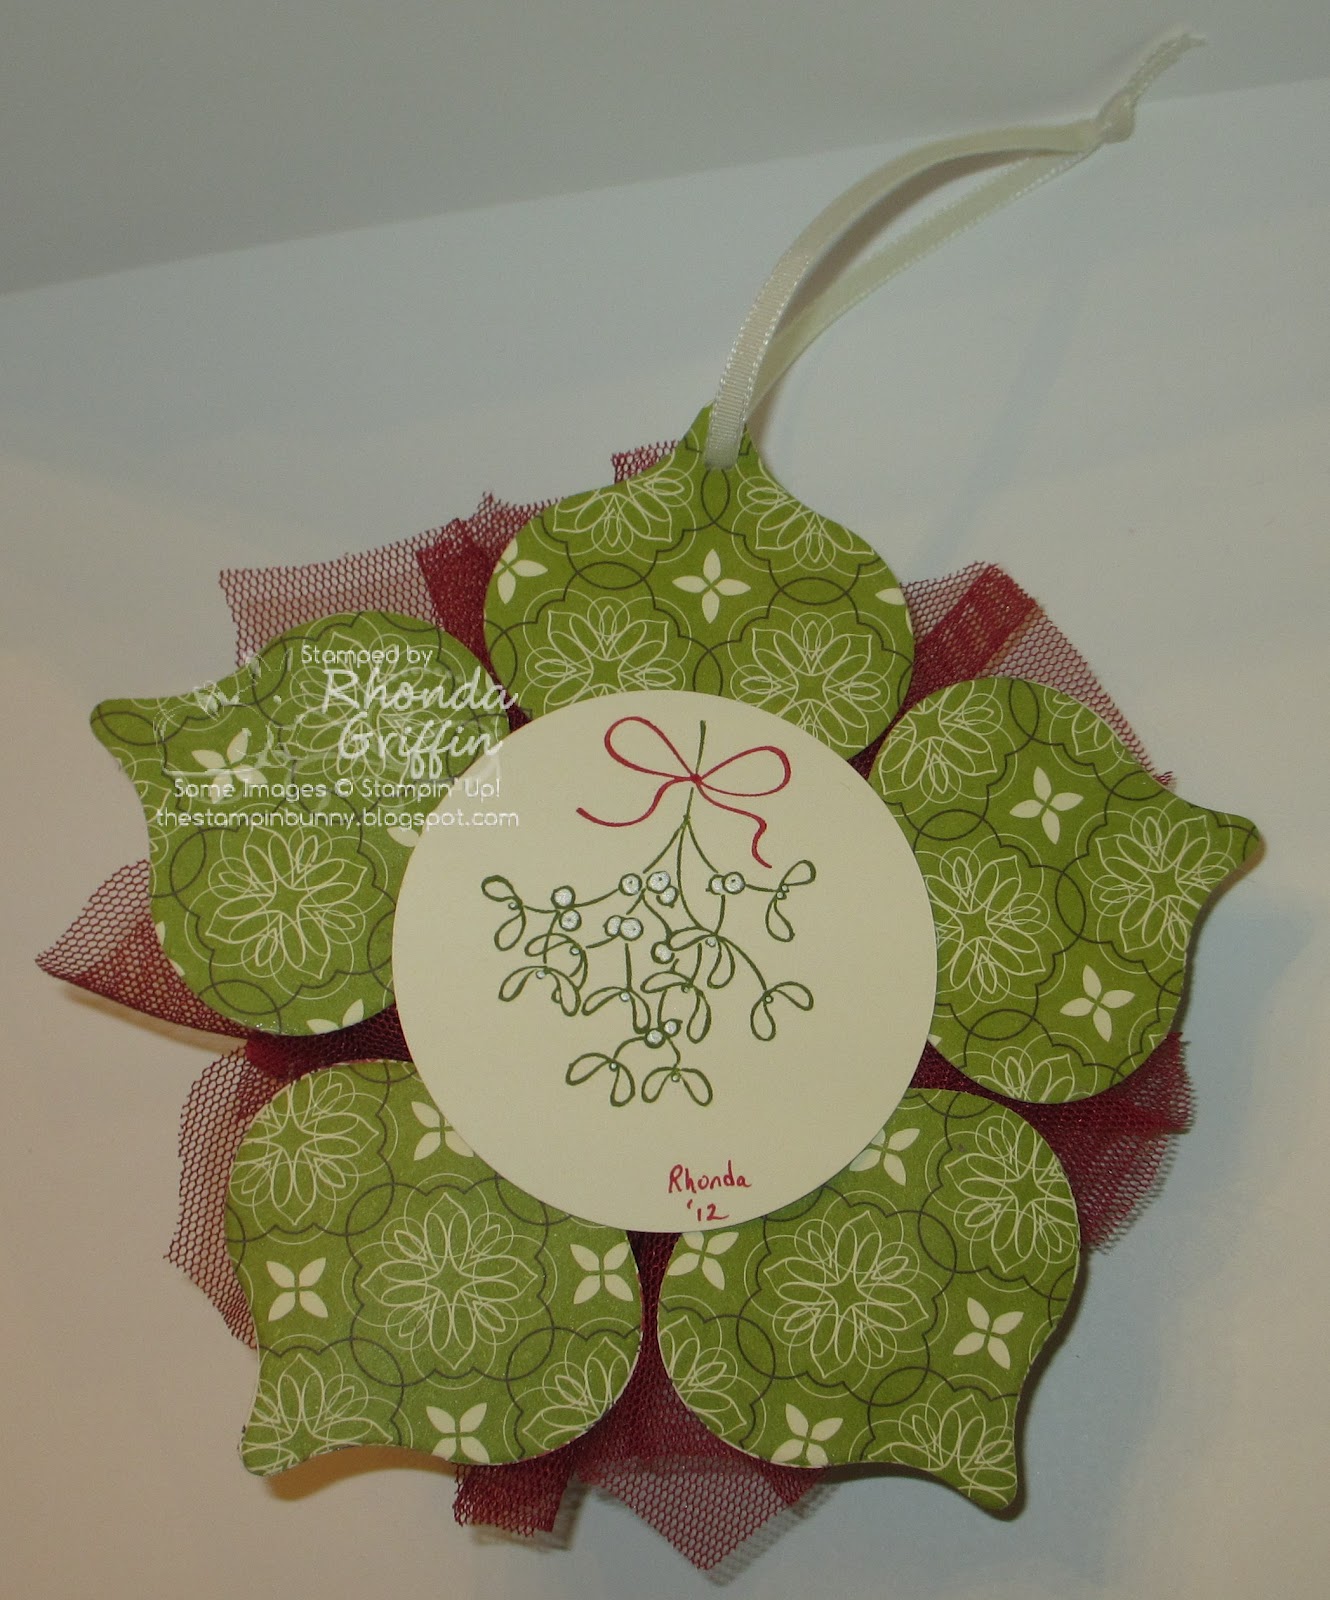
I didn't mind the Cherry Cobbler scalloped tulle with the Real Red piece of Candlelight Christmas designer series paper. I thought it added depth of color. I made it shorter than the recommended 5 inches (I used 3 full scallops as my guide), and I liked having an ivory pattern for the rosette in the middle rather than a brown. I also didn't cut the Victoria crochet ribbon in two pieces. I merely folded it over and kept the longer sides of the ribbon on the inner portion of the ornament. There are several ways you could alter it to suit you.
Copying from my friend Kris Kilkenny, I added my name and the year to the bottom of the mistletoe image I stamped to decorate the back of the ornament.
 Pin It


2 comments:
Totally adorable!
Beautiful! I like the crochet ribbon. And, I could only cut two pieces of DSP with my framelits as well. This turned out sooo pretty!!
Post a Comment